Onepage setup
One-page site is a smart function that let the user show all of your site’s information into one page which split into multiple sections.
Step 1: Create a new page or edit an existing one.
Step 2: Click Edit with Elementor
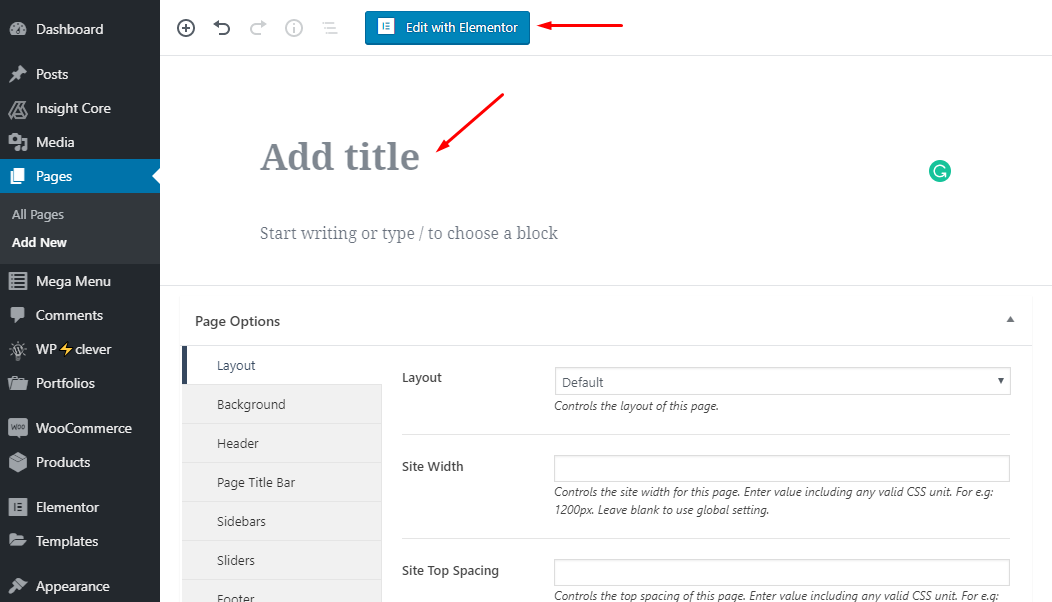
Step 3: Click on Add New Section button then choose the structure you want.
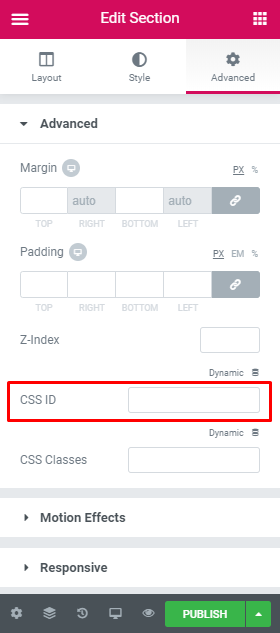
Step 4: Customize the Layout and Style as you want then click on Advanced tab to fill in the CSS ID then hit Publish to save your changes.
Step 5: Come to Appearance > Menus > Create a new menu then find Custom Links in the left column.
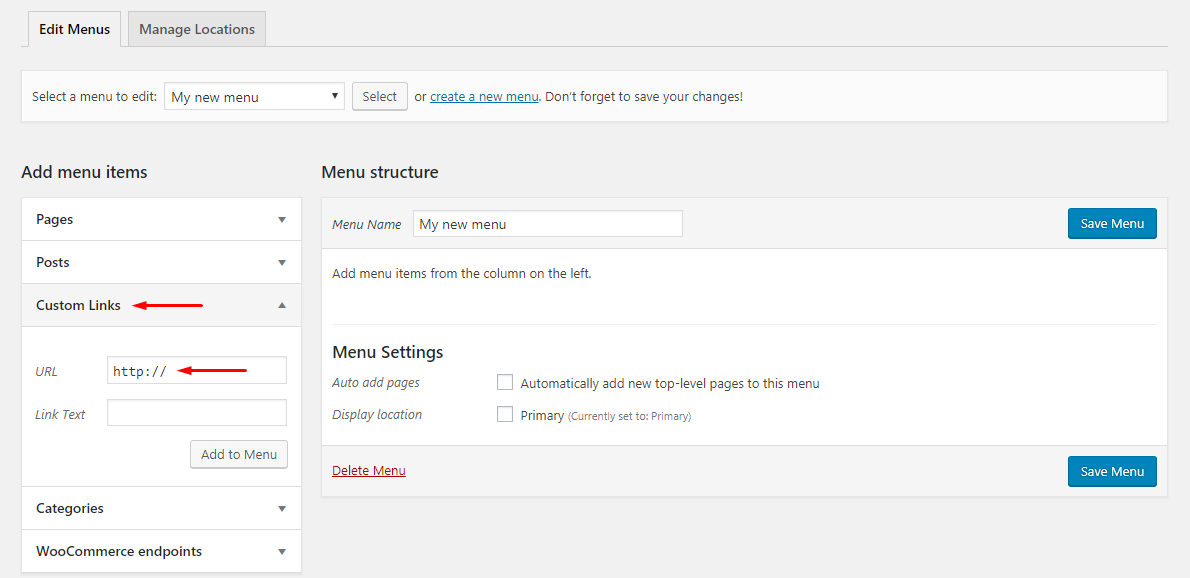
Step 6: Fill URL section by delete http:// and replace by #your section ID in step 4 and click Save Menu.
Step 7: Back to the page you've just created and roll down to Page Option >> Header.
Step 8: Change Primary Menu to the menu you create in step 5 and Enable One Page Menu.
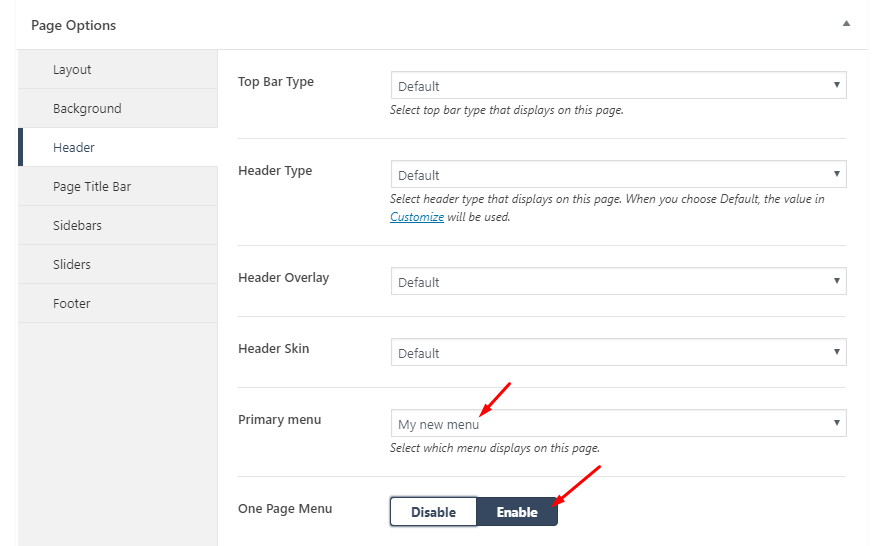
Step 9: Click Update to finish.
How to make one page scrolling
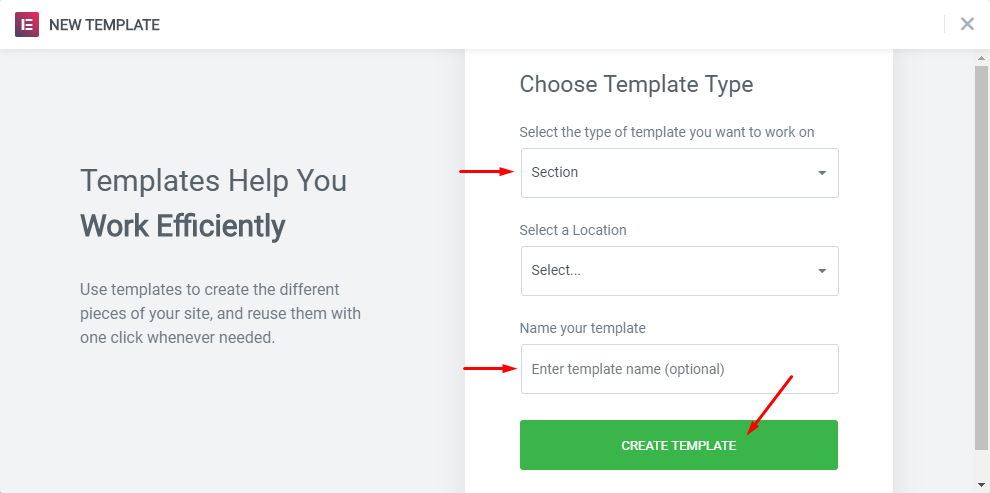
Step 1: Create new sections by navigating to Templates > Add New.
Step 2: Select Section Template, name your section then click Create Template.
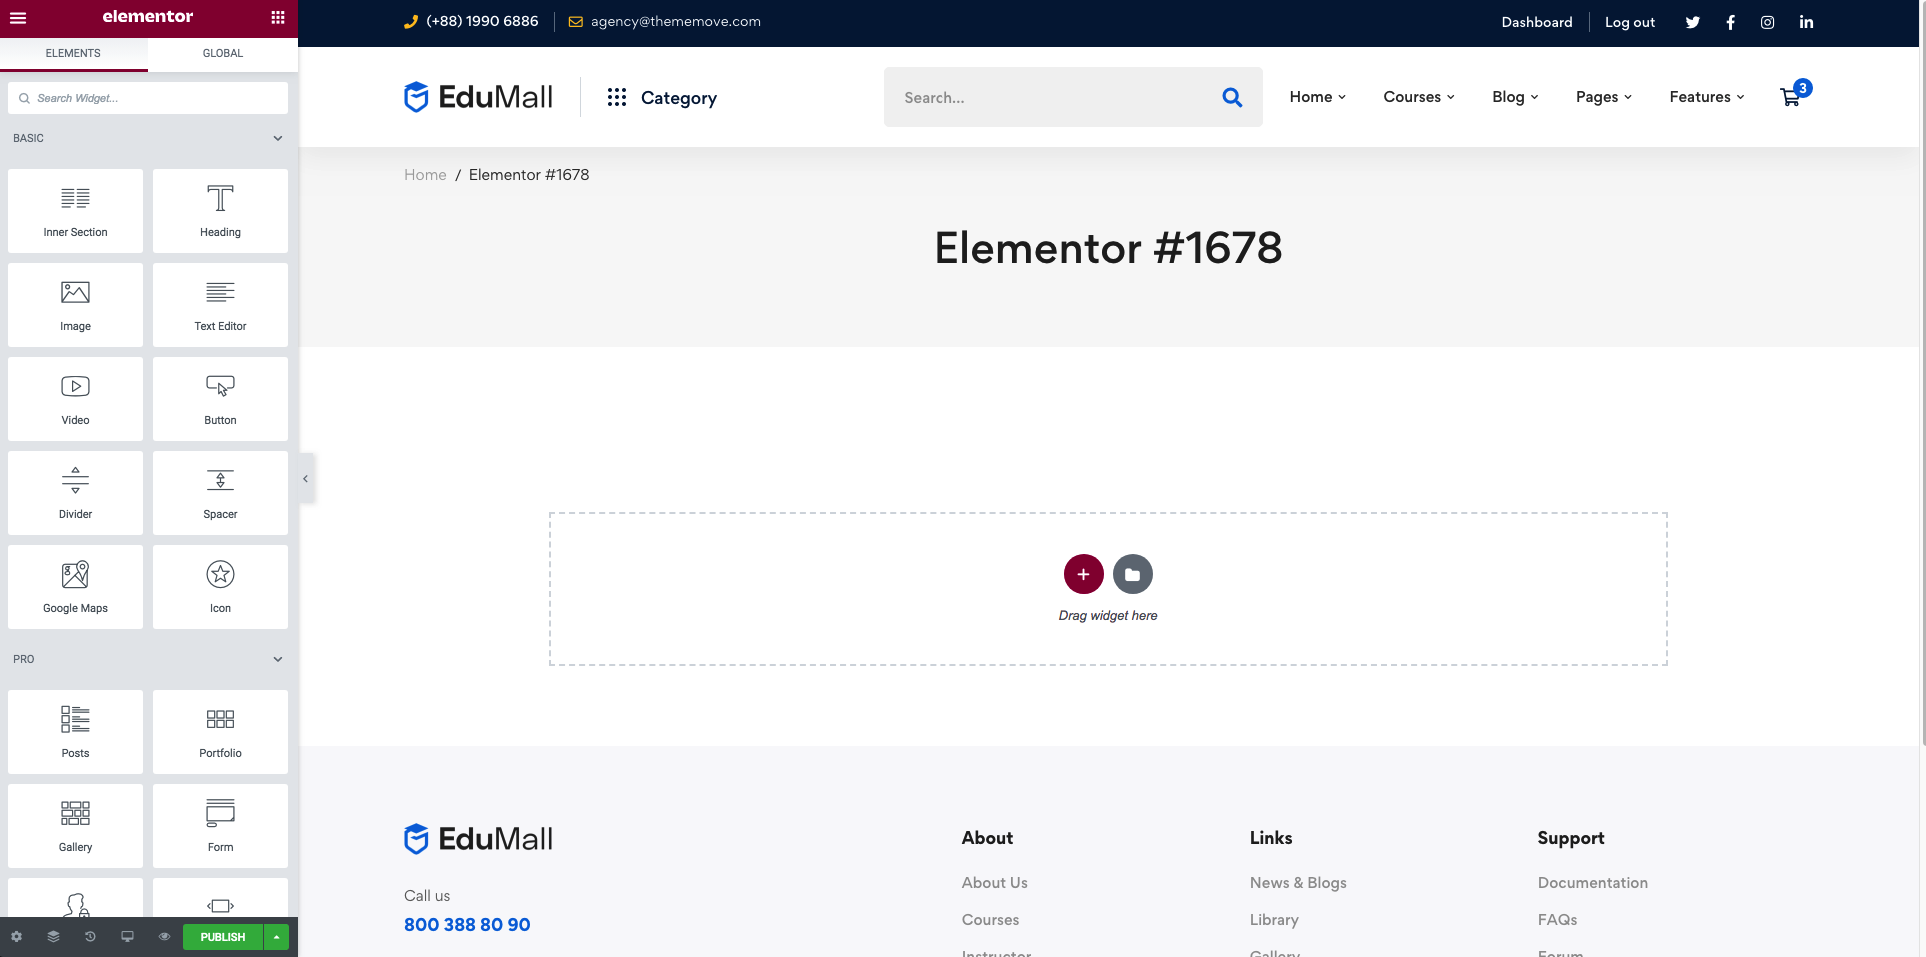
Step 3: Edit your Section by dragging elements from the left sidebar then click Publish to save your Section.
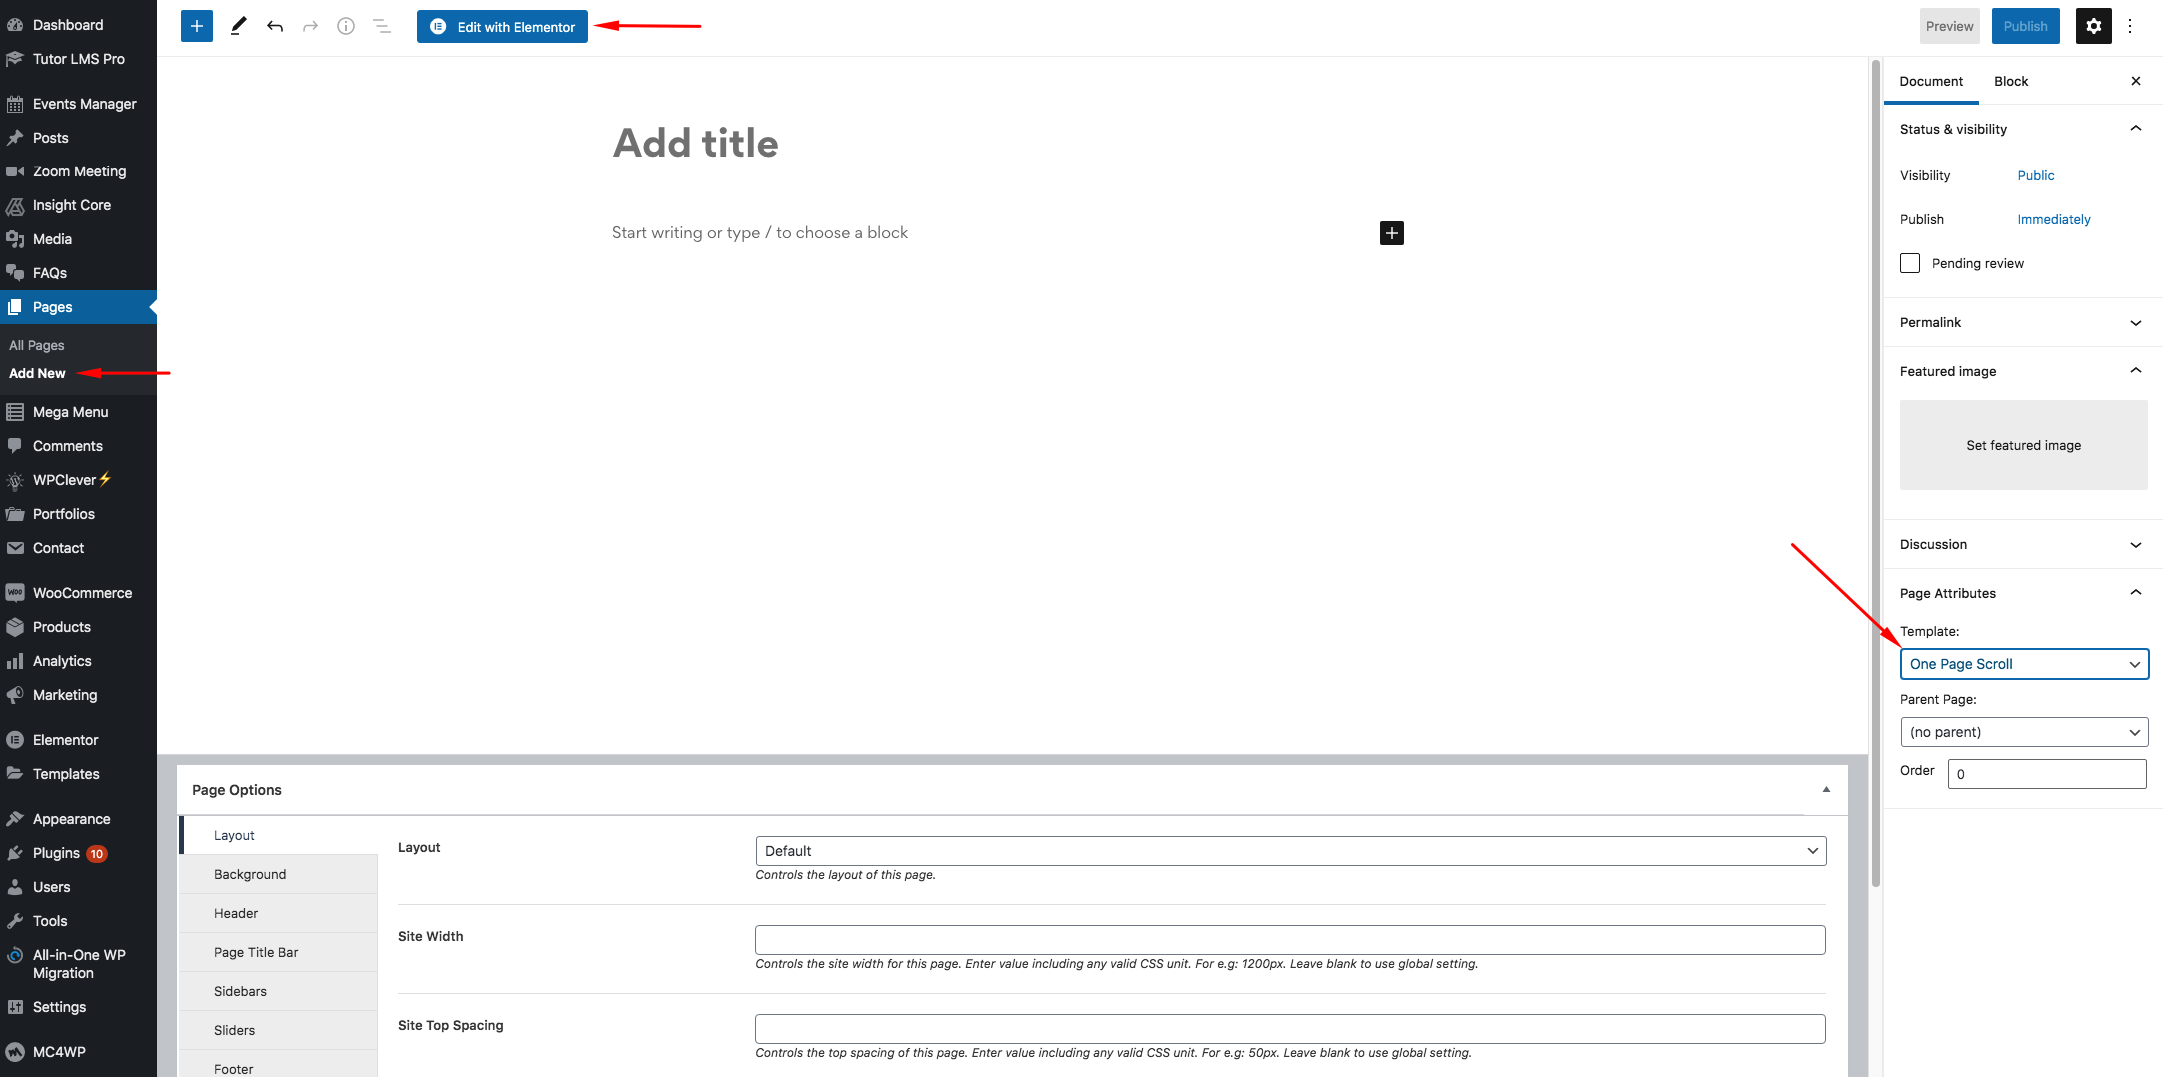
Step 4: After you create sections that you want them to appear in your One page scroll, back to the dashboard > Add new page > Change the Template to One page scroll > Edit with Elementor.
Click on Add New Section icon then choose the Structure you want.

Step 5: Search for the widget Fullpage on the elements search bar, then drag the Fullpage element into the section you've just created.

Step 6: Click on Slide #1, choose the template you created before or choose the predesigned EduMall template.
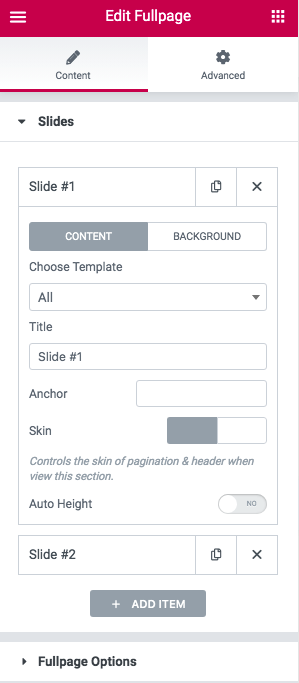
Step 7: After you add all the template you want in your One page scroll, you can customize it at Fullpage Options.
Step 8: Click Publish to finish.
Last updated